


Wednesday, June 16, 2010
Wednesday, May 19, 2010
Chain Alignment
Fortunately, your local bike shop can supply you with a freewheel spacer to move the chain outwards at the rear gear which will align the chain with the front gear. In this case only one spacer was needed to align the chain. Apply grease to both sides of the spacer and place it on the hub face in center. Afterwards, install the freewheel, set up the chain and ride much safer.


Chain Alignment
This particular frame sets up the bottom bracket bearings wide, creating an offset of the chain. The chain at the front gear was moved outwards to the right of the rear gear during initial set up. In addition, I needed to use one of the smallest spindle spacers to prevent the front gear from touching the bearing cup creating even more of a misalignment of the chain between the front and rear gears.


Chain Alignment
Chain alignment is real important if you believe you will need your teeth in the future. A chain that is not lined up with the both the front and rear gears may seem OK at a glance and appear harmless. However, in the long run a chain that is off a touch to the left or right will wear gears prematurely, create tight spots and eventually cause the chain to fall off or break.


Monday, April 19, 2010
Pedal Tip
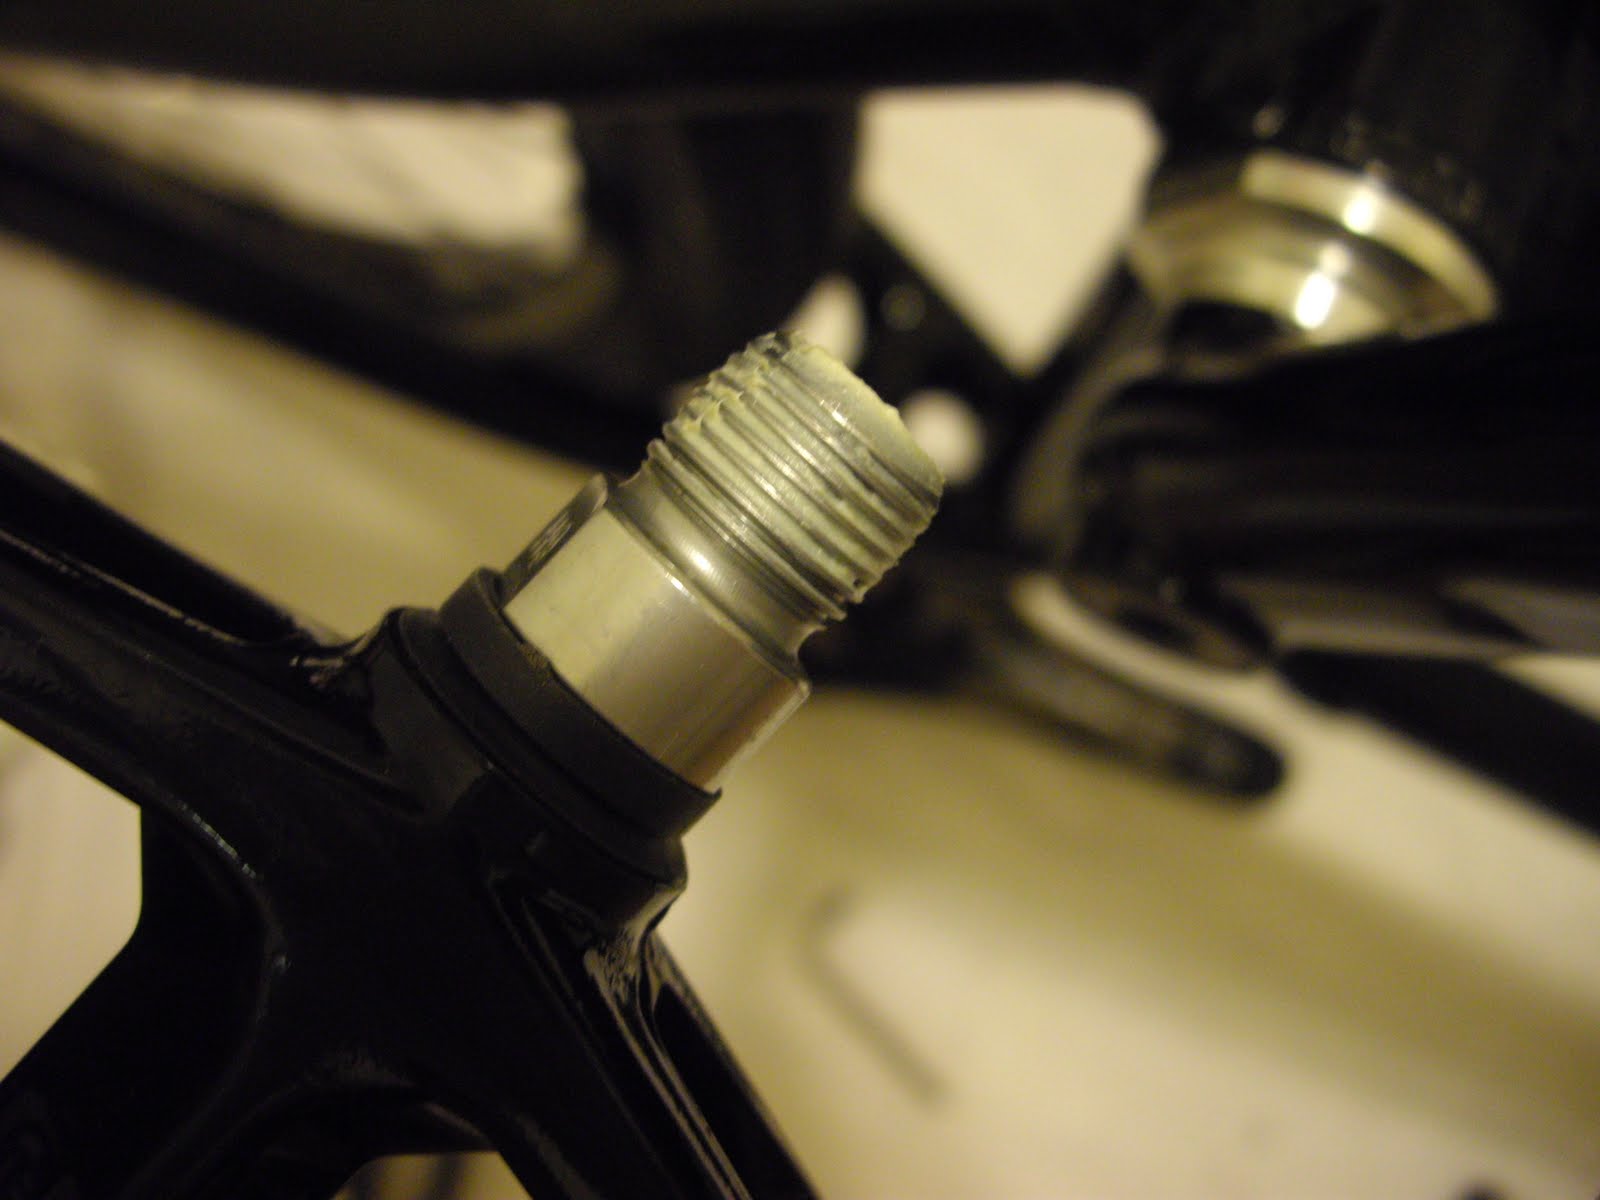
If you ever want to get your pedals off without a pipe extension, grease the threads. Pedal removal just became real easy.


Thursday, April 8, 2010
3 Piece Crank Install 6
Grease the threads of the second spindle bolt and tighten the second crank arm in place. After the arm is secure remove the spindle bolt and check to make sure there is a small gap between the spindle bolt washer and the spindle face. If there is not a gap the spindle bolt will bottom against the spindle and the crank arms will not securely tighten and your cranks will become damaged.



3 Piece Crank Install 5
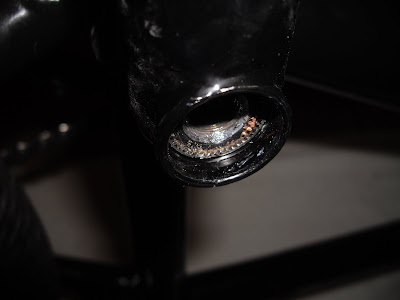
Push the chain wheel bolt towards the chain wheel in the same direction you apply force to the crank arm when pedaling. After the chain wheel bolt is resting against the chain wheel tighten it with your allen key. Doing this before you tighten the spindle bolts will prevent any slipping at this interface during your first few cranks and makes sure the chain wheel bolt is seated properly.


3 Piece Crank Install 4
Add a spacer to the non drive side and hold the crank arm over the spindle and check for frame clearance, add more spacers if needed. Apply anti-seize to the spindle and push the arm onto the spindle as much as you can by hand.


3 Piece Crank Install 3
Check to make sure the crank arm clears the frame. Add more spacers between the bearing and the sprocket if needed. If you add spacers check your chain alignment. If the amount of spacers you have added to the spindle push the chain too far out you can add a spacer in between your freewheel and hub or your cog if you run a cassette.


3 Piece Crank Install 2
Slide your chain wheel on the spindle and finger tighten the greased chain wheel bolt into the bolt boss. Grease the spindle and slide it into the bottom bracket with the correct spacers outboard of the bearing.


3 Piece Crank Install 1
Apply anti-seize onto one side of the spindle and press the drive side crank arm on as mush as you can by hand. Grease the threads of a spindle bolt, screw it into the spindle and tighten the arm completely. You may have to use the crank arm install tool supplied with your cranks if the spindle bolt will not reach the threads of the spindle initially on it's own.


Monday, March 29, 2010
Freewheel Tips
If you anticipate that one day you will need to remove a freewheel from the hub it is on, there is one tip to help with that. Grease all points that it is in contact with the hub. Applying grease will save you time and prevent damage to the freewheel and hub during removal. Grease the hub threads and the back of the freewheel. The back of the freewheel comes in contact with the hub and can be a seizing point if not greased. Spin the freewheel on and it will tighten up during your first few cranks when your wheel is installed and chained up. Always take your rear wheel to the local shop to remove the freewheel unless you own an appropriate removal tool.


Monday, March 22, 2010
Seatpost Install
Have you ever had a squeak come from your bike that wouldn't go away no matter what you loosened or tightened, disassembled and reassembled, or beat with a hammer out of frustration? It might have been your seat post. First grease the clamp bolt to keep if from seizing up and add to its longevity. Add grease to the seat post itself. Grease it beyond the point you think it will be installed into the frame. The grease will eliminate metal on metal rub that causes the elusive squeak which you might think is everything else but the seat post. Tighten the clamp bolt and you should see grease squeeze out above the seat tube. Wipe clean and enjoy no more squeaks.


Tuesday, March 16, 2010
STEM INSTALL 9
Going slow during stem installation results in getting the task completed right the first time.


STEM INSTALL 8
The photo below shows the negative effect of tightening stem bolts in an uneven manner. The stem cap in this case has moved forward resulting in an uneven amount of clamping force on the bars.


STEM INSTALL 7
Place the stem bolts in the stem while the crossbar is still resting on the frame and twist them in a few turns with your hand. Move your bars to where you prefer them to be positioned. Tighten the stem bolts with your allen key a few turns at a time in a star pattern until the bars are secure. Do not use a lever, the grease on the bolt threads allow sufficient tightening of the stem bolts with an average amount of force.


STEM INSTALL 6
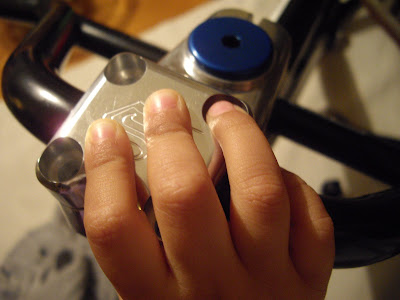
Wipe the bar clamp area with a cloth to make sure it is free of any grease or lubricants. Place your handlebars in the bar clamp area with the crossbar resting on the frame. As the bars rest on the frame and in the bar clamp area centered evenly, place the stem cap over the bars. My 3 year old daughter was hanging out at the kitchen table workshop today.




STEM INSTALL 5
Tighten the clamp bolts alternately a few turns at a time until secure. Tightening one bolt more than the other will put too much stress on the bolt and the stem threads. If you adjust your stem or remove the stem, it is very important to also loosen the clamp bolts alternately as well. Removing one clamp bolt all the way before the other will cause the bolts to bend. Do not use a lever to tighten any stem bolt. The grease added to the bolt threads allows an allen key to have suffeceint leverage to secure the clamp bolts with an average amount of force.


STEM INSTALL 4
I choose to use a Tree compression cap. Here I added a small spacer to cover the steer tube on top of the stem with a bit of space given to allow movement of the steer tube as it moves up during tightening. The added space does not allow the steer tube to bottom out against the compression cap. If the steer tube bottoms out against the compression cap the headset will not tighten properly. Tree Bicycle Co. has many different size compression caps for different brands of forks.


STEM INSTALL 4
Supercross forks come with a compression cap that is hollow which allows the steer tube exposed on top of the stem to be covered without using spacers. Grease the compression bolt you have and tighten it while you hold the frame and fork up off of your work surface. Holding the frame and fork off of the work surface while tightening the headset allows the headset to tighten together evenly as it is free of pressure directing it out of alignment. Never sit on your bike while tightening a compression cap.


Subscribe to:
Posts (Atom)

 Posts
Posts


